Goodreviews Documentation
Installation Guides
Introduction
The goodreviews code works on any website or tool. All you have to do is place our code within your <head> tag. Find platform-specific guides below.
Google Tag Manager
1. Create a new tag in the Google Tag Manager dashboard.
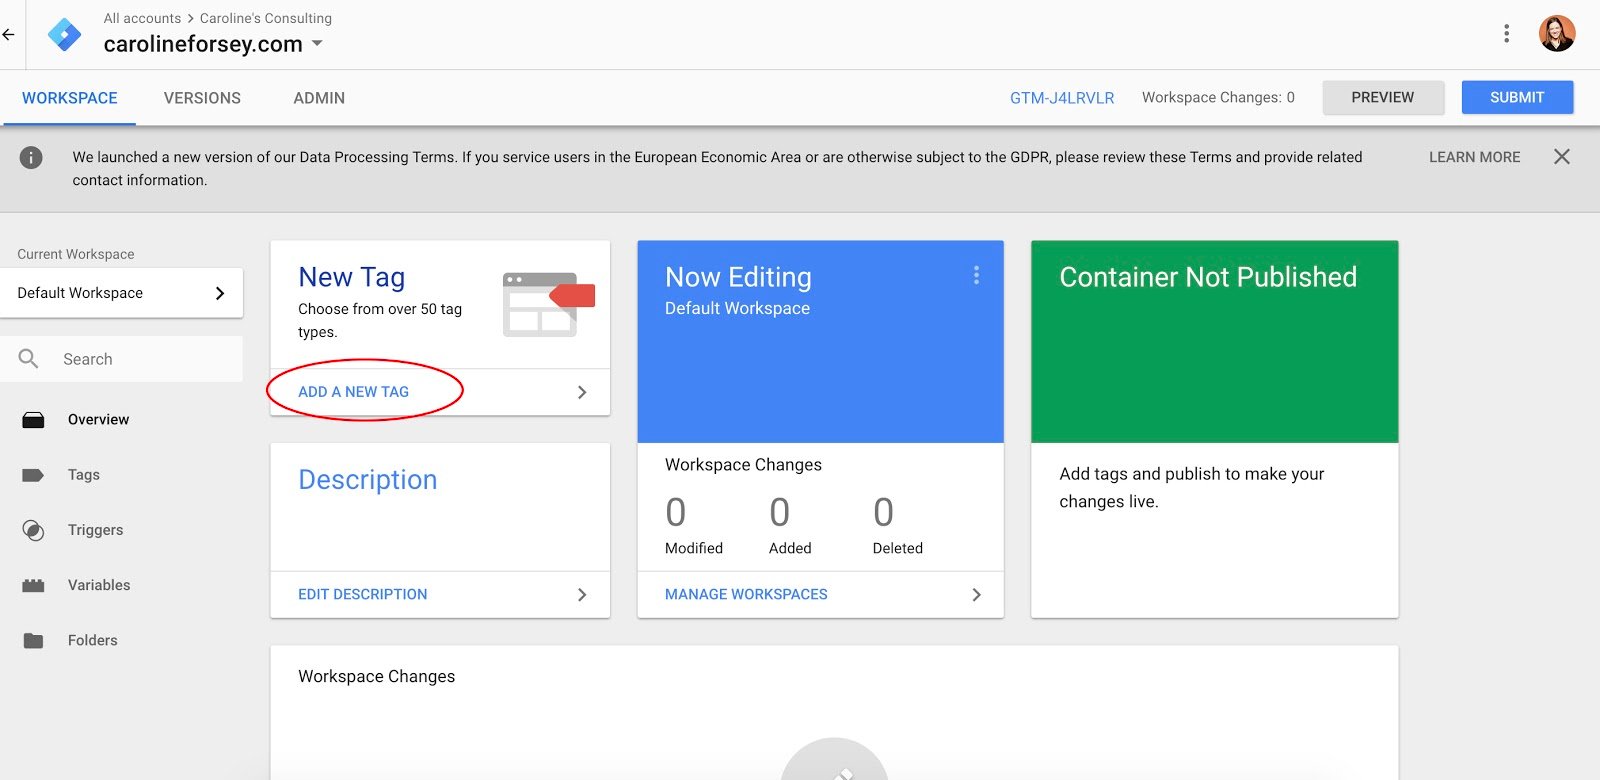
Within your Google Tag Manager dashboard, click the “Add a New Tag” button, circled below in red.
2. Configure your tag.
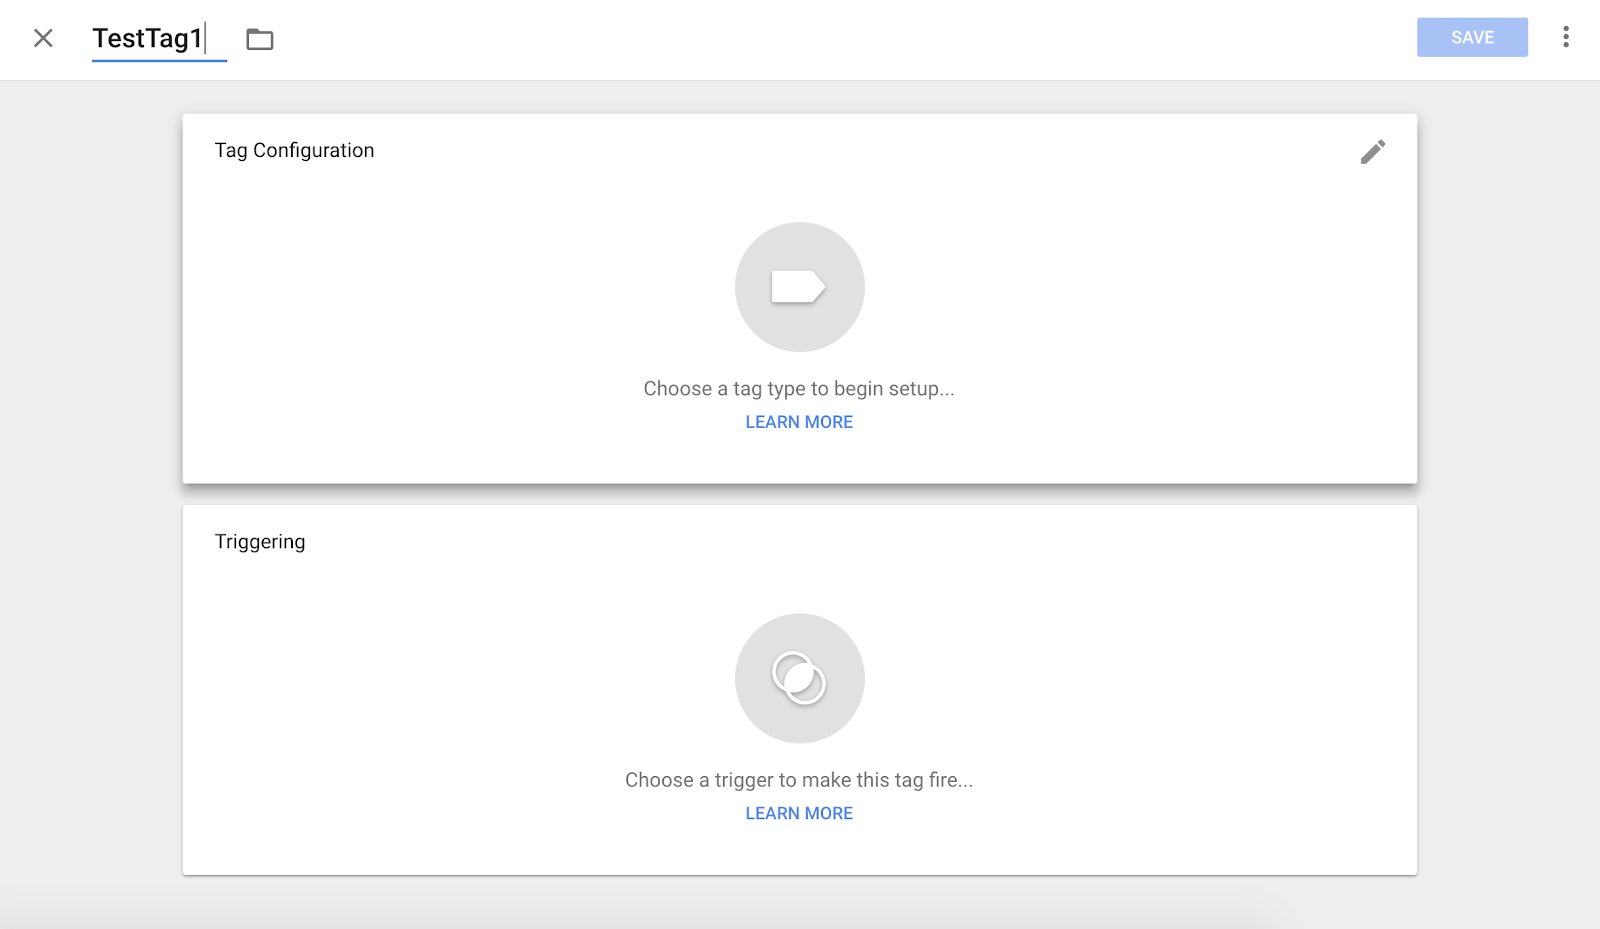
Title your tag, and then click anywhere in the top “Tag Configuration” box, to choose a tag type.
3. Choose a tag type.
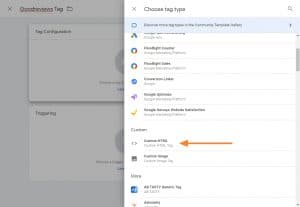
You will see list of different tags. Scroll till you see “custom HTML”
3. Copy your goodreviews code
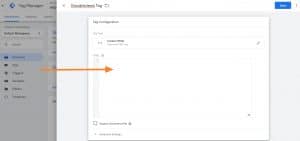
Login to your dashboard copy your code and place into the HTML tag section.
4. Choose a trigger to determine when goodreviews will show
Next, choose a trigger (a trigger means when you want goodreviews to show, i.e. “every page” on your website or specific pages. If you would like to have goodreviews only show on specific pages pick +page view, then Some pages and enter the URLs you wish to display.

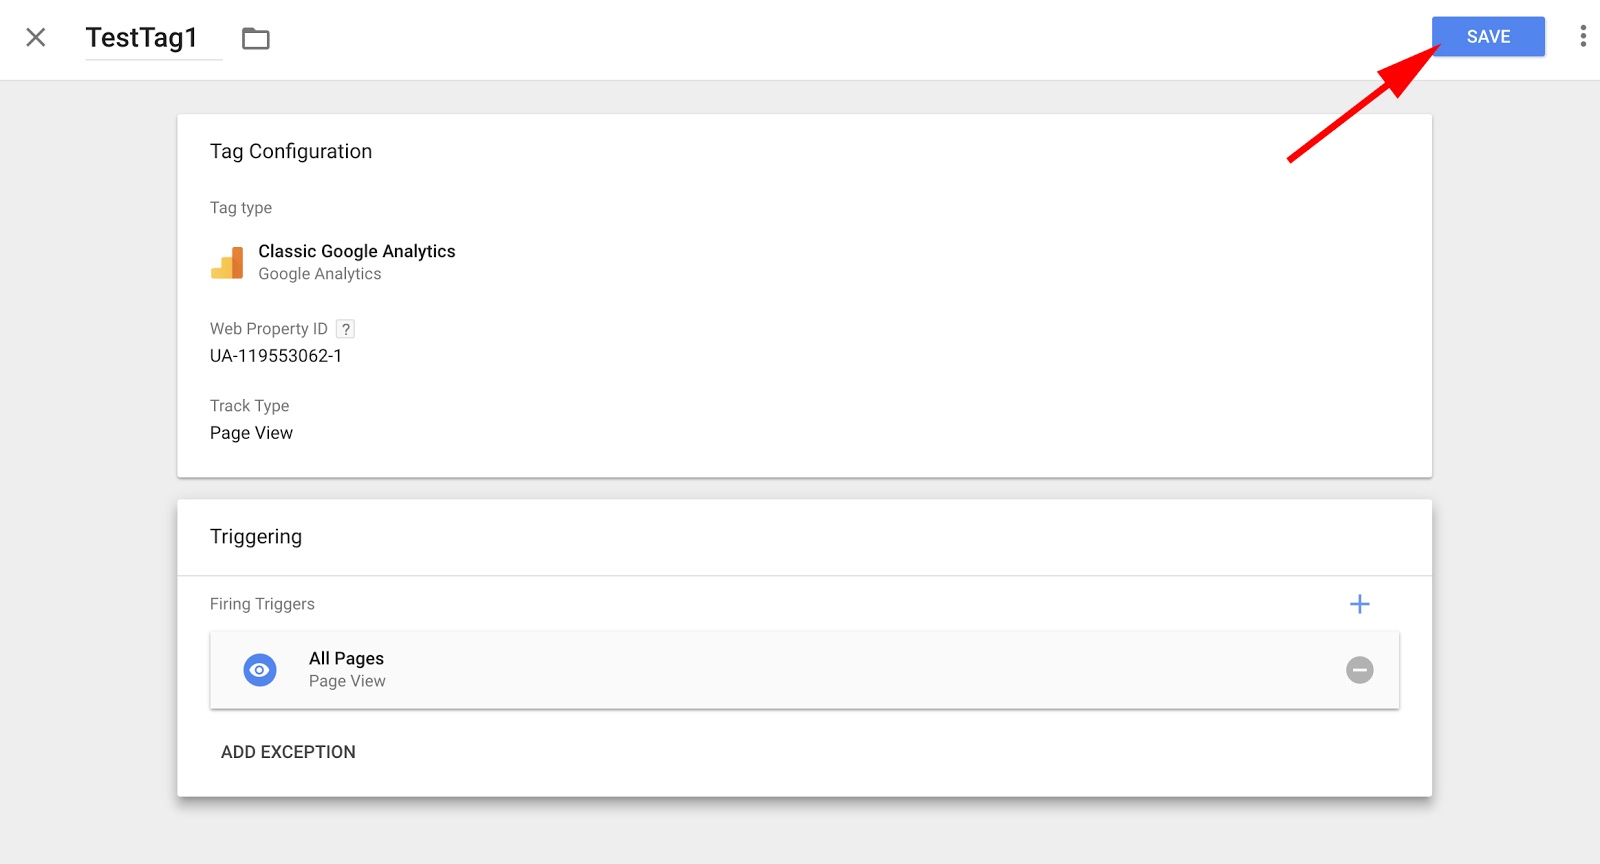
5. Save your tag.
When you’re happy with the information in the “Tag Configuration” and “Triggering” boxes, click the blue “Save” button.
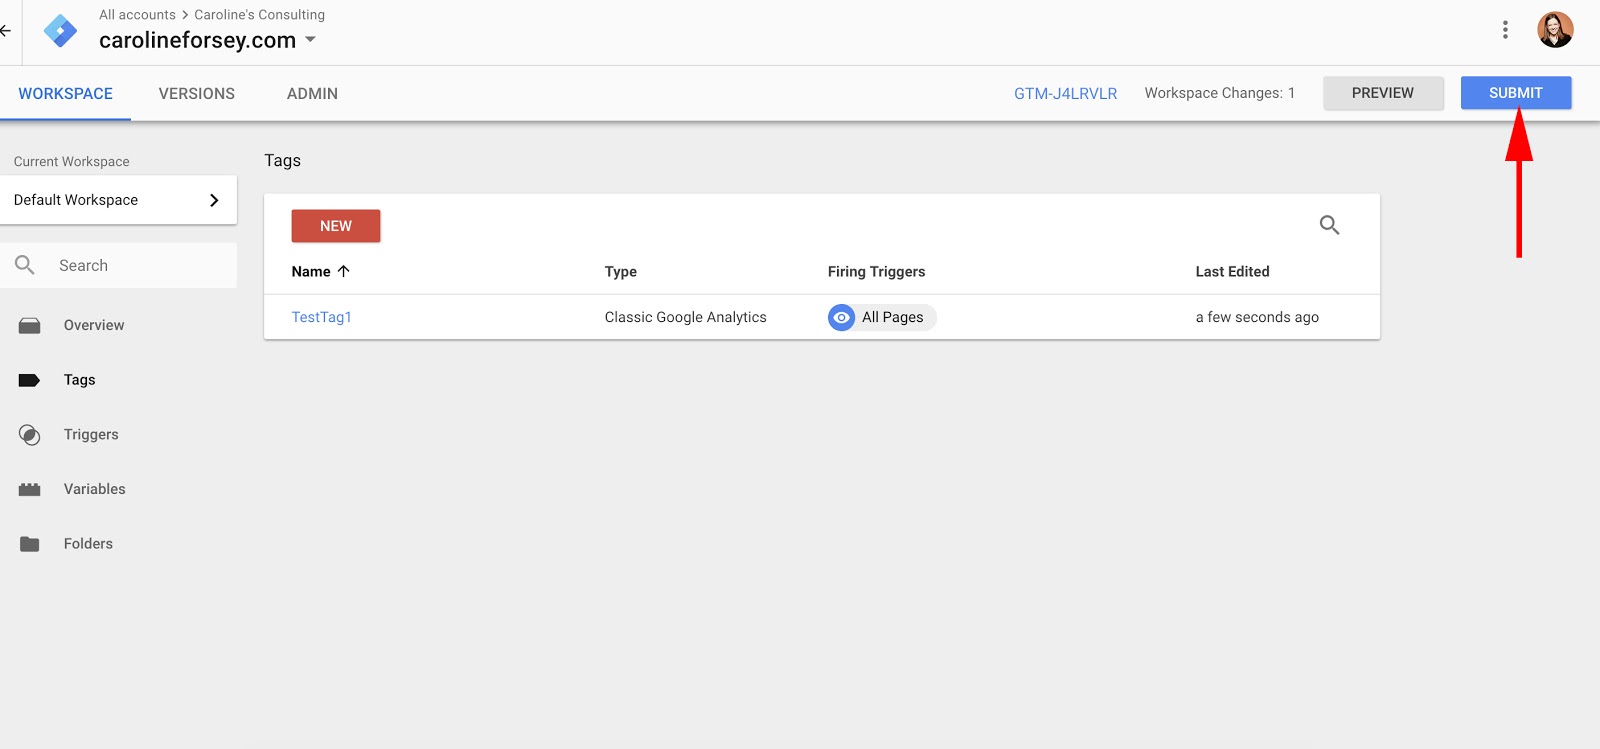
6. Activate your tag by pressing “Submit.”
Next, click the blue “Submit” button. Your tag won’t work until you do so.
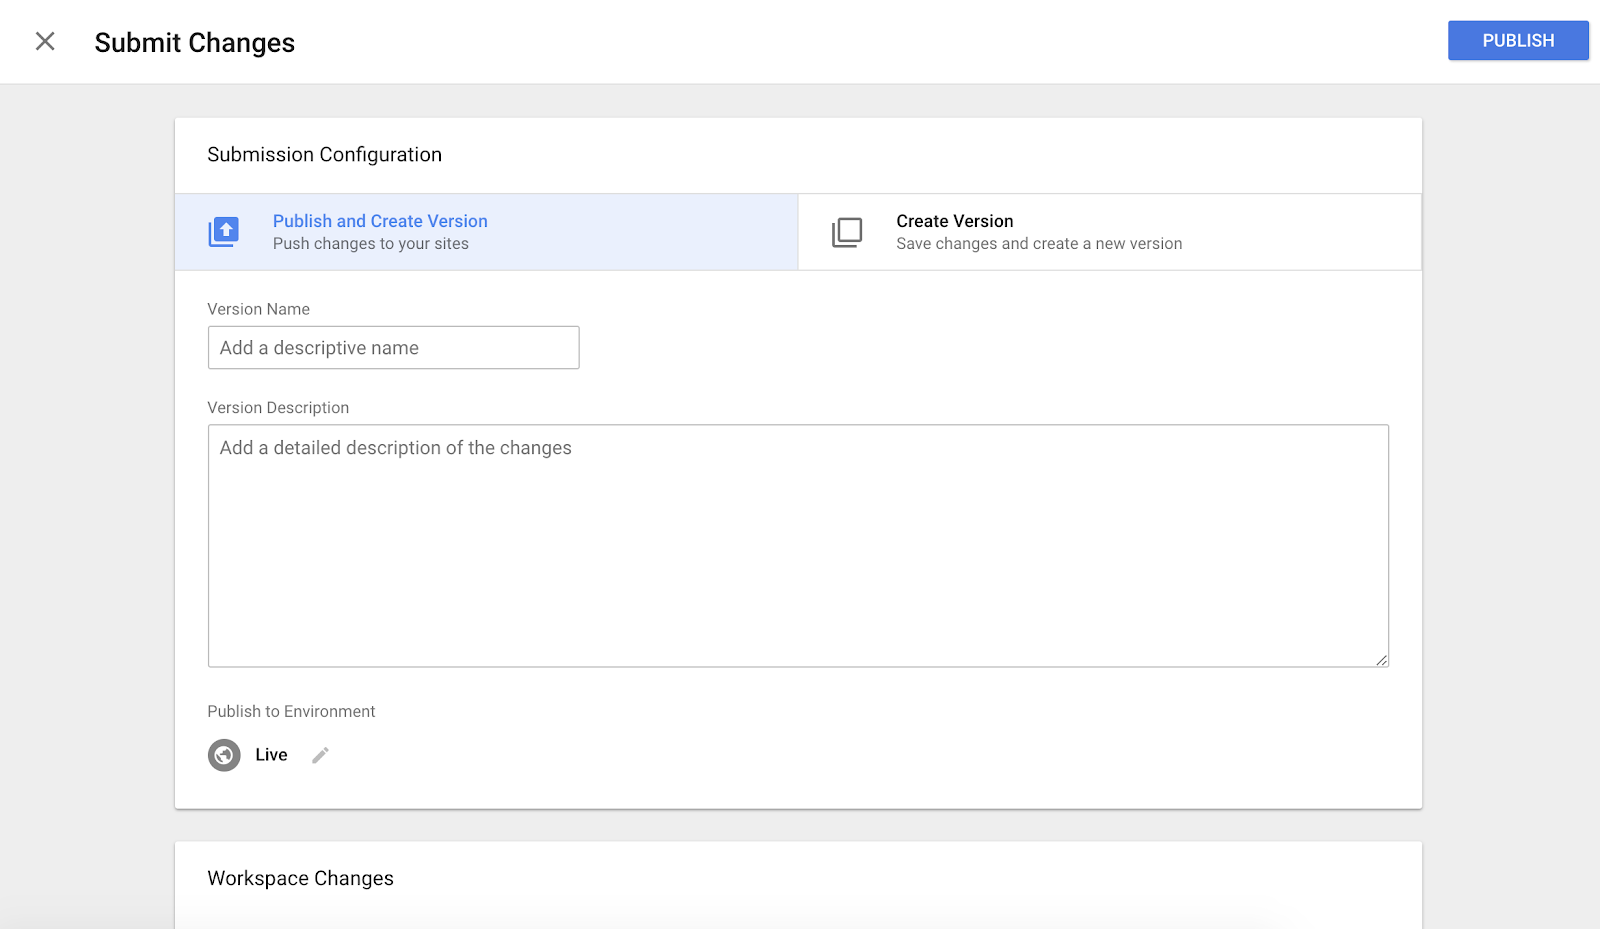
When you click “Submit”, you’ll be taken to this “Submission Configuration” page. There are two options: “Publish and Create Version” or “Create Version”. Select “Publish and Create Version”, and then “Publish” button in the top right.
7. Ensure your tag appears in your “Version Summary” report.
That’s it! You’re all done.
Wordpress
By default, WordPress doesn’t provide an option to insert code in your website’s header and footer. Luckily there is an easy and quick solution recommended by the WP experts.
First thing you need to do is install and activate the Insert Headers and Footers plugin. For more details, see this step by step guide on how to install a WordPress plugin.
Once the plugin is activated, go to Settings » Insert Headers and Footers from your admin panel. After that, you will see two boxes for adding code to header and footer.
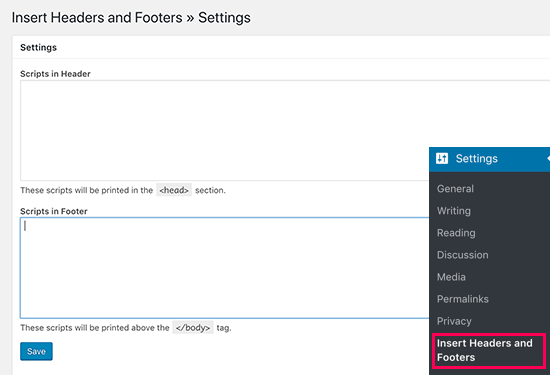
Navigate over to goodreviews and grab your code. Simply paste the goodreviews code in one of the two boxes. Once done, don’t forget to click the Save button to store your changes.
The plugin will now automatically load the code in the respective locations on your WordPress site.
That’s it!
Note: You may have to clear your WordPress cache after saving changes, so the code properly appears on the front-end of your website.
Shopify
1. Install within Shopify Theme
Within your Shopify dashboard, click on Online Store.

2. Click on Themes.

3. Click on the Actions button on the top right and choose Edit Code.

4. Under layout, select theme.liquid.

5. Scroll down the page until you find the following tag: </head>.

6. Paste your goodreviews code just before this closing </head> tag.
You can find your Tracking Code in your dashboard.
7. Click Save and Publish your Theme to apply the changes.
The goodreviews widget should now be installed on your Storefront.
Magento
This guide shows you how to install goodreviews on Magento 2.3.1 or newer.
1. Get your goodreviews code
Go to your goodreviews dashboard, and copy your goodreviews code.
2. From the Admin menu, select Content, then Configuration.

3. Click Edit in the Action column for the site you want to add goodreviews to.

4. Click to expand the HTML Head section.
5. Paste the goodreviews code in the Scripts and Style Sheets box.

6. Click Save Configuration.
You’re all done!
Squarespace
Note: Adding custom Javascript is only available for Premium SquareSpace plans
To see if you are on SquareSpace premium plan, head to their support document Premium SquareSpace plans.
Step 1 – Open Code Injection
In the Home Menu, click Settings, click Advanced, and then click Code Injection.

Step 2 – Add HTML code
Add valid HTML or scripts into the appropriate Code Injection fields for the header, footer, lock page, or order confirmation page.
Step 3 – Get your code
Go to your goodreviews dashboard. Copy and past your code in the <header> section.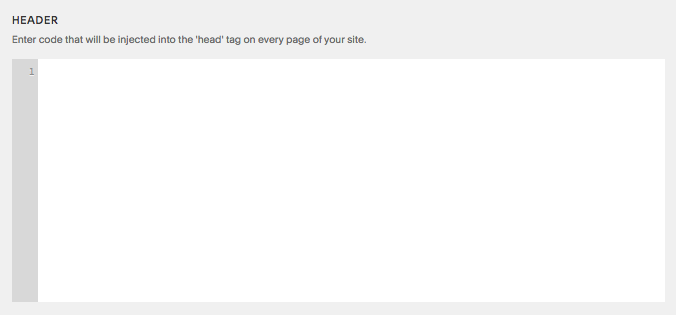
That’s it! The goodreviews widget will now be live.
Weebly
1. Get your code
Navigate to your goodreviews dashboard. Copy your goodreviews code snippet.
2. Login into your Weebly account and choose Theme > Edit HTML/CSS
3. Below the HEADER TYPE, paste the code within the <head> </head> section of the HTML in all three types, including:
- header.html
- no-header.html
- splash.html

4. Click Save.
5. Click Publish.
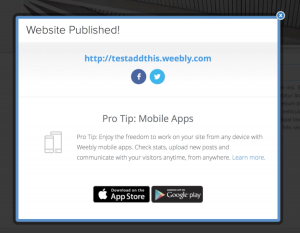
6. Go to your Weebly homepage, press refresh, and you should see goodreviews on your website!
Wix
1. Get your code
Navigate over the goodreviews dashboard and copy your snippet.
2. Go to Wix & Login
3. Hover over Settings in the side panel.
4. Hover over Help Center.
5. Click Advanced.
6. Scroll down to the Custom Code section.
7. Click Edit next to Custom Head Code.
8. Click the relevant language.
9. Paste your custom code.
10. Click Save.
Unbounce
1. Go to goodreviews and to copy your code snippet from the dashboard.
2. Log in to Unbounce and open your landing page.
3. Click on Javascripts from your edit screen.

4. Paste the goodreviews snippet into the Head.
5. The goodreviews widget will now be live
Instapage
1. Navigate to goodreviews and copy your snippet.
2. From the page builder, select the Javascript setting situated on the right sidebar:
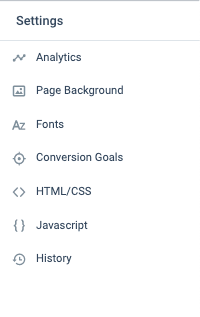
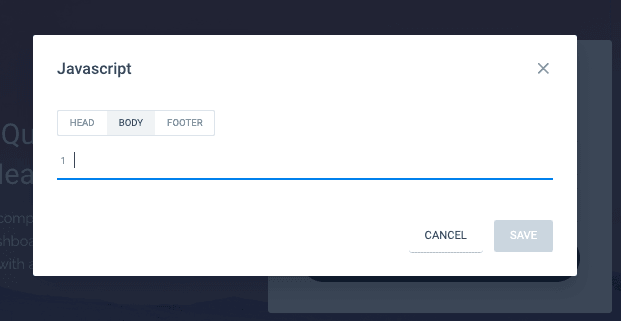
3. Now paste your code into the assigned section: Header.
ClickFunnels
1. Navigate to goodreviews and copy your widget snippet from your dashboard.
2. Login to ClickFunnels.
3. Go to your funnel Settings and click on Head Tracking Code.

4. Paste your goodreviews widget snippet.
Your goodreviews widget will now be present on all pages of your funnel.
